
Floor 11 of the Spiral Abyss is where the true challenge of Genshin Impact begins. Every Genshin Impact update sees a change in the Spiral Abyss, the game’s most challenging endgame content. Each floor of the Abyss pits you against waves of enemies against the clock. Defeat these enemies as quickly as you can to earn the most rewards possible.
Related: Genshin Impact vs. Blue Protocol – differences and similarities
How to clear Floor 11 of the Spiral Abyss in Genshin Impact
Each Spiral Abyss update grants a unique buff to help you out in your battles. This update is the Blessing of the Abyssal Moon: Determined Moon. This buff has the following effect:
“After a character’s HP decreases, all party members will gain a stack of Implacable: DMG dealt will be increased by 8% for 8s. This effect can be triggered once every 0.3s. Max 4 stacks. Each stack’s duration is counted independently.”
Floor 11 of the Spiral Abyss has an additional Leyline Disorder that buffs your teams. The Leyline Disorder for Floor 11 has this effect: “All characters in the party gain a 75% Pyro DMG bonus.”
Best characters for Floor 11 of the Spiral Abyss – Genshin Impact

The Leyline Disorder combined with the Blessing of the Abyssal Moon benefits your teams that deal Pyro DMG. There are plenty of meta teams that utilize Pyro units, but specifically, Xiangling and Bennett are an extremely powerful pair that comprises plenty of strong teams.
- Tartaglia / Kazuha / Xiangling / Bennett: This classic team is lovingly dubbed by the community as the “International” team and it has remained one of the strongest compositions in the game. With the 75% Pyro DMG bonus, this team skyrockets in power.
- Alhaitham / Nahida / Kuki Shinobu / Fischl is another good choice. Despite the lack of Pyro units in this team, Dendro units are strong in the second half due to the prevalence of Hydro enemies. Using Dendro units against Hydro enemies such as Hydro Mimics and the Hydro Hypostasis is incredibly powerful and will speed up your clear.
- Yoimiya, Hu Tao, Diluc, and Dehya teams are also effective for this floor due to the Pyro DMG bonus you get. It’s highly recommended to bring at least one Pyro team during your clear.
Floor 11: Chamber 1

In the first half, you will have to defeat two waves of enemies. You’ll need to fight two Kairagi enemies for the first wave, and then a Consecrated Red Vulture and Consecrated Scorpion for the second wave. For the Kairagi wave, defeat both of the enemies at the same time, as one will refill most of its HP if you kill them separately.
The Consecrated Red Vulture and Consecrated Scorpion are tankier enemies, but if the fight stalls out long enough, they will drop Energy Blocks that can be destroyed to stun them, which also increases the damage they take.

In the second half, you will have to defeat two waves of enemies. The first wave consists of numerous Eremite enemies. Stick to one side to draw all the enemies together, or take them down quickly one by one. Finally, you’ll have to fight three different Hydro Abyss Mages.
Bring Dendro characters such as Dendro Traveler, Collei, Alhaitham, or Nahida to clear this half with ease. Bloom cores will quickly destroy the Hydro shield of the mages. If you bring Electro characters like Fischl and Kuki Shinobu, the shields will deplete even faster.
Floor 11: Chamber 2
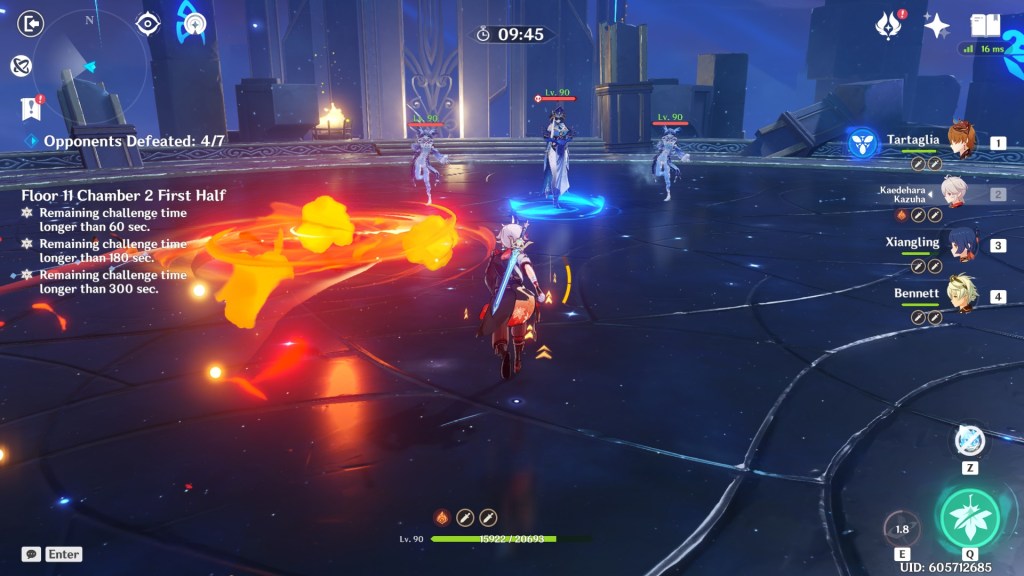
In the first half, you will have to fight two waves of enemies. The first wave consists of numerous Fatui Skirmishers. They spawn together, so utilize an AoE-heavy team to defeat them quickly. Finally, you’ll have to defeat two Fatui Cryo Cicin Mages and one Mirror Maiden. Pyro units will break through the Cryo shield the Cicin mages spawn. AoE damage is important here, as well.
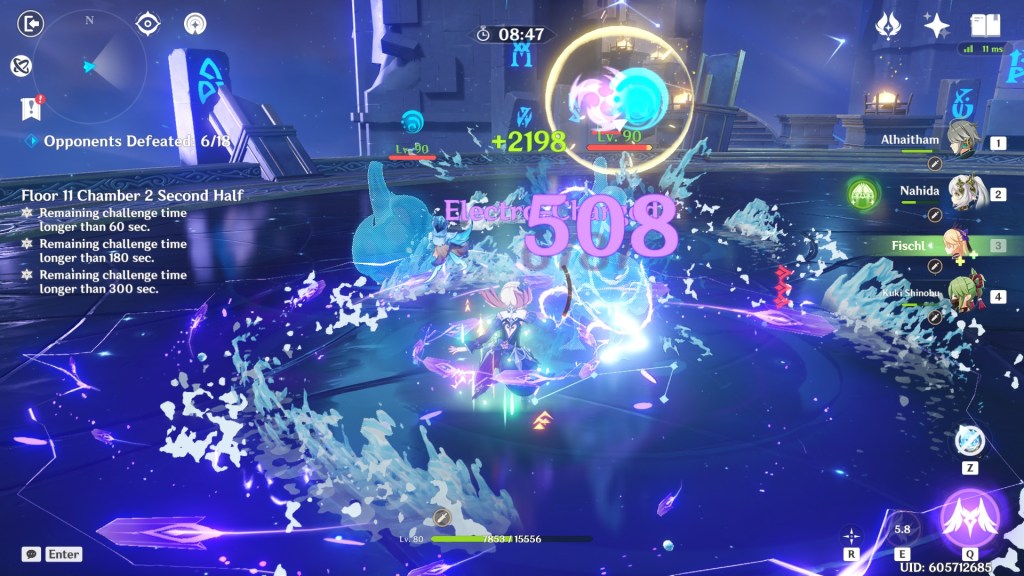
In the second half, you will have to defeat numerous Hydro Mimics. These enemies can deal some extremely high damage, so be sure to bring a healer like Kuki Shinobu to keep you healthy. These enemies are permanently affected by Hydro, so they will die extremely quickly to Bloom cores from Dendro units. Nahida is extremely strong as she can apply numerous Bloom cores at once.
Floor 11: Chamber 3
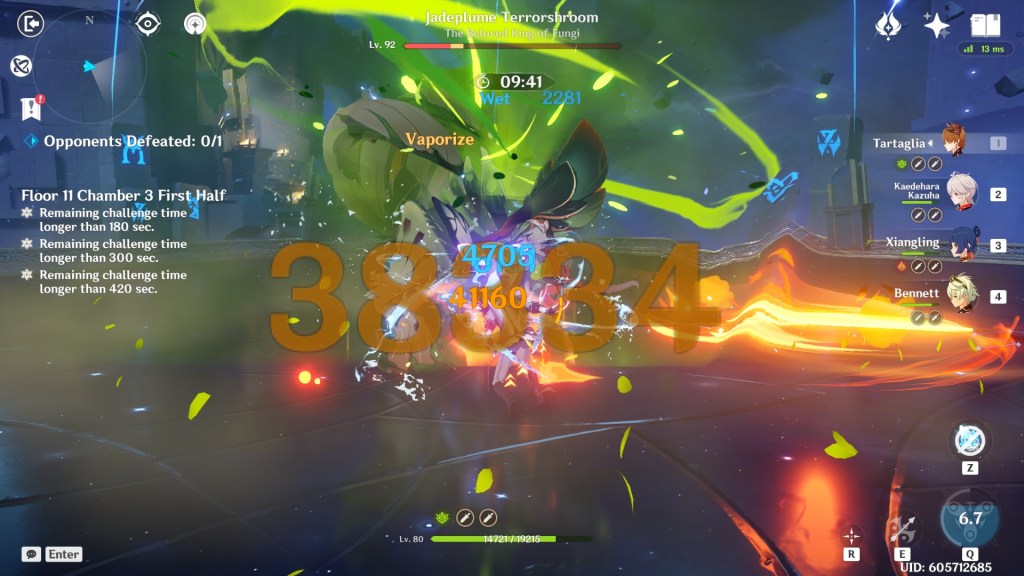
In the first half, you will have to defeat the Jadeplume Terrorshroom. This enemy is pacified when it takes Pyro damage, which synergizes well with the Leyline Disorder that buffs your Pyro DMG. You can also bring a team like Yoimiya with Xingqiu or Yelan to deal heavy single-target damage. Follow this guide to learn more about the Jadeplume Terrorshroom boss and its attack patterns.
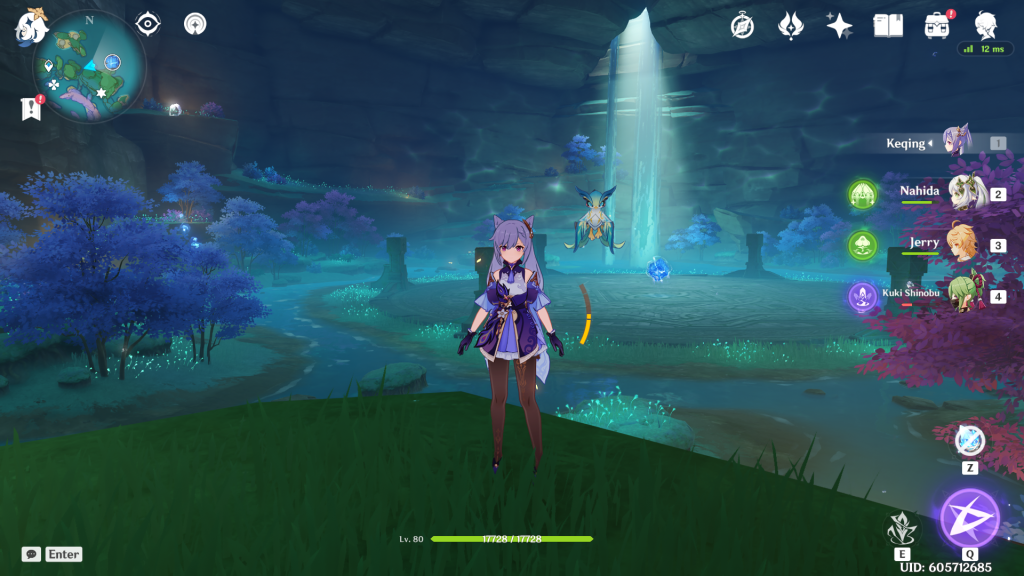
The second half features the Hydro Hypostasis. When the Hydro Hypostasis exposes itself, proc Hyperbloom to quickly deal tons of damage. During the second phase of the fight, you’ll have to defeat some Hydro Slime-like enemies before it reaches the boss. The best way to beat this boss is to use Dendro units, as they will instantly destroy the Hydro Slime-like enemies. Nahida in particular can clear the final phase of this fight all at once.
After defeating this floor, you can finally move onto the 12th floor of the Spiral Abyss.
from Gamepur https://ift.tt/iX7csQz