
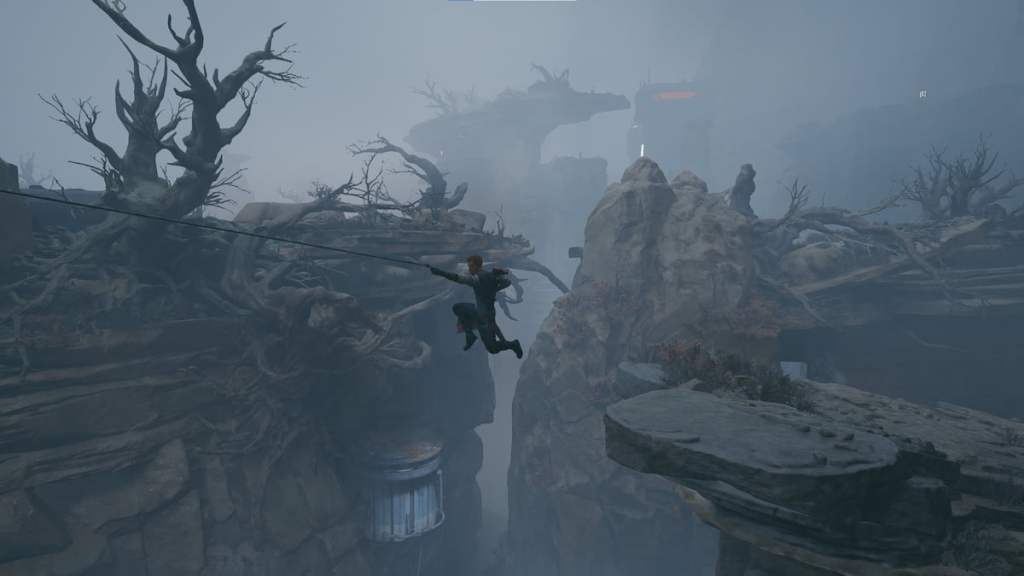
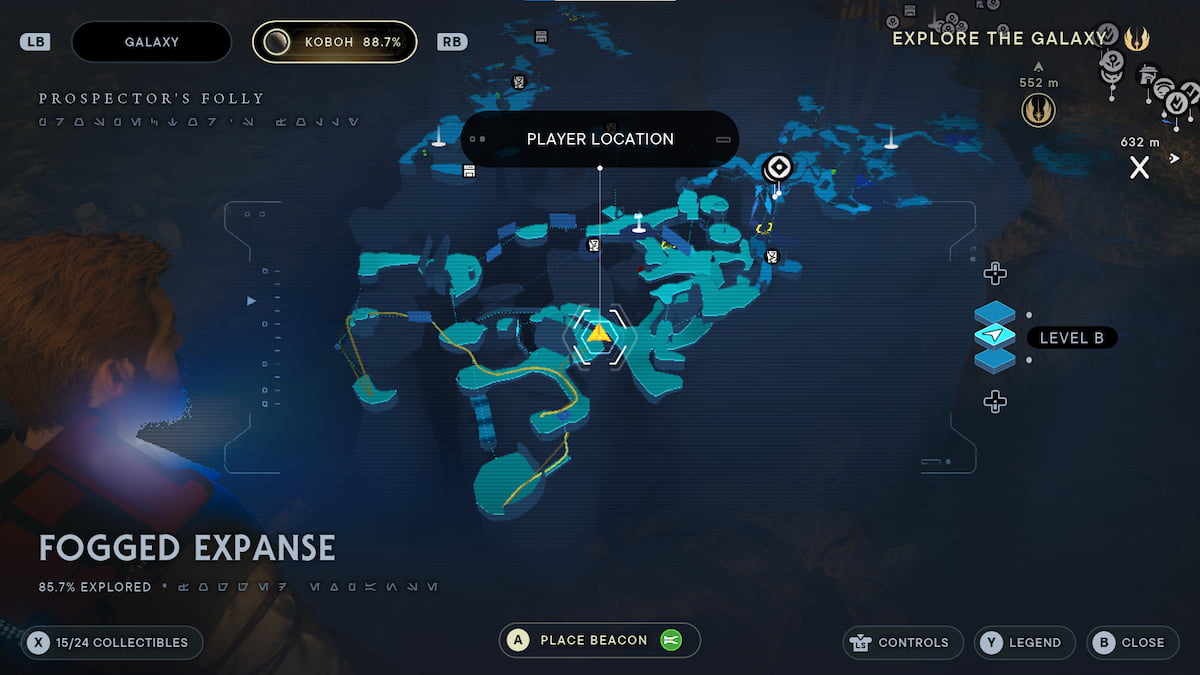
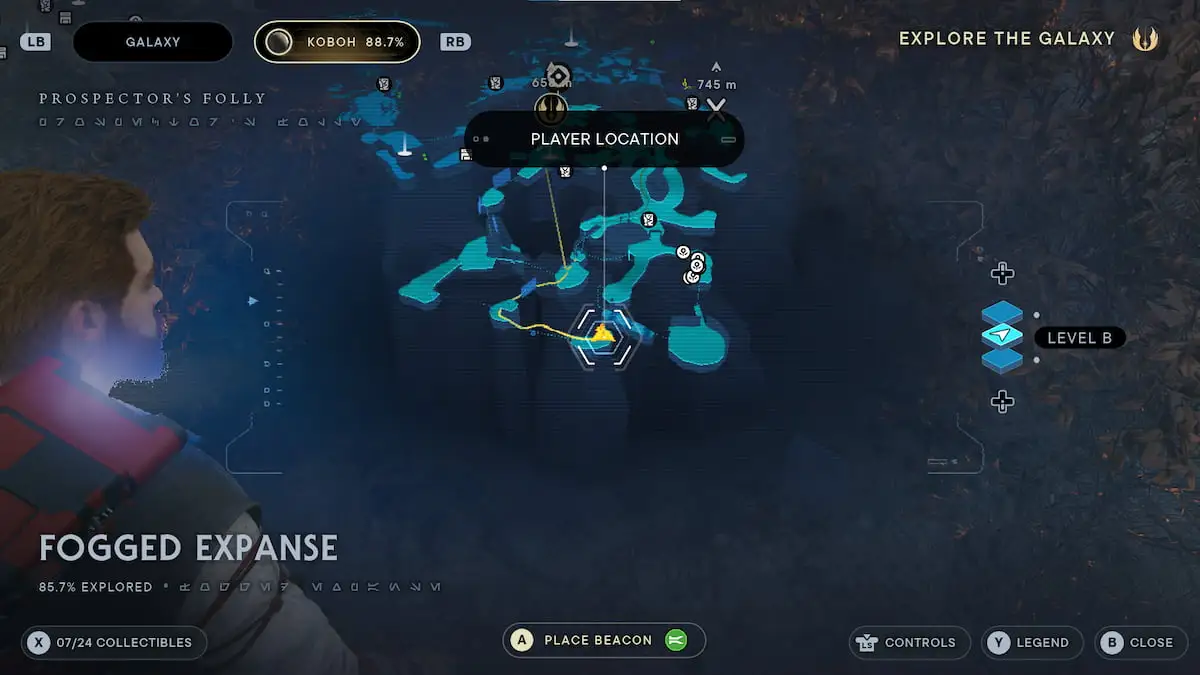
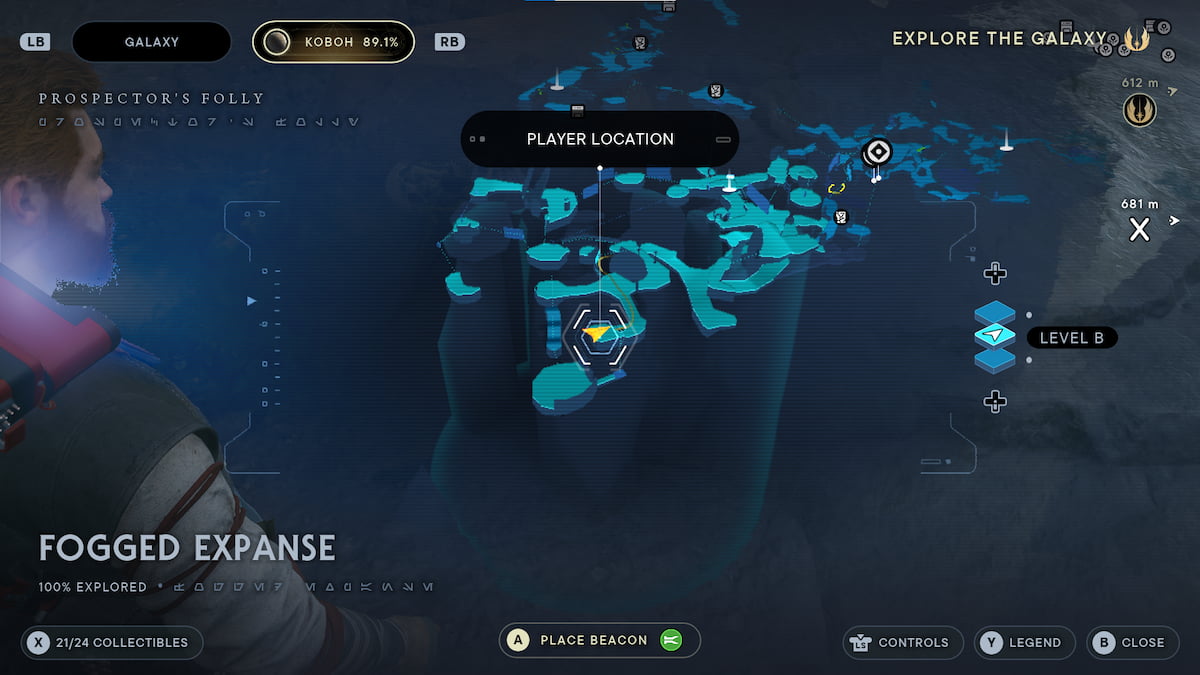
Star Wars Jedi: Survivor is full of multiple collectibles that you want to track down if you plan to reach 100% completion with the game. You’ll need to search the Fogged Expanse to find several of them, one of the locations you can visit on Koboh.
The Fogged Expanse is a location you can explore as you progress through the main story, and it contains several collectibles. This area is partially blocked off by having access to specific abilities, and working your way through this area might take some time. This guide covers all Fogged Expanse collectibles and where to find them in Star Wars Jedi: Survivor.
Every Fogged Expanse Collectible and How to Get Them in Jedi: Survivor
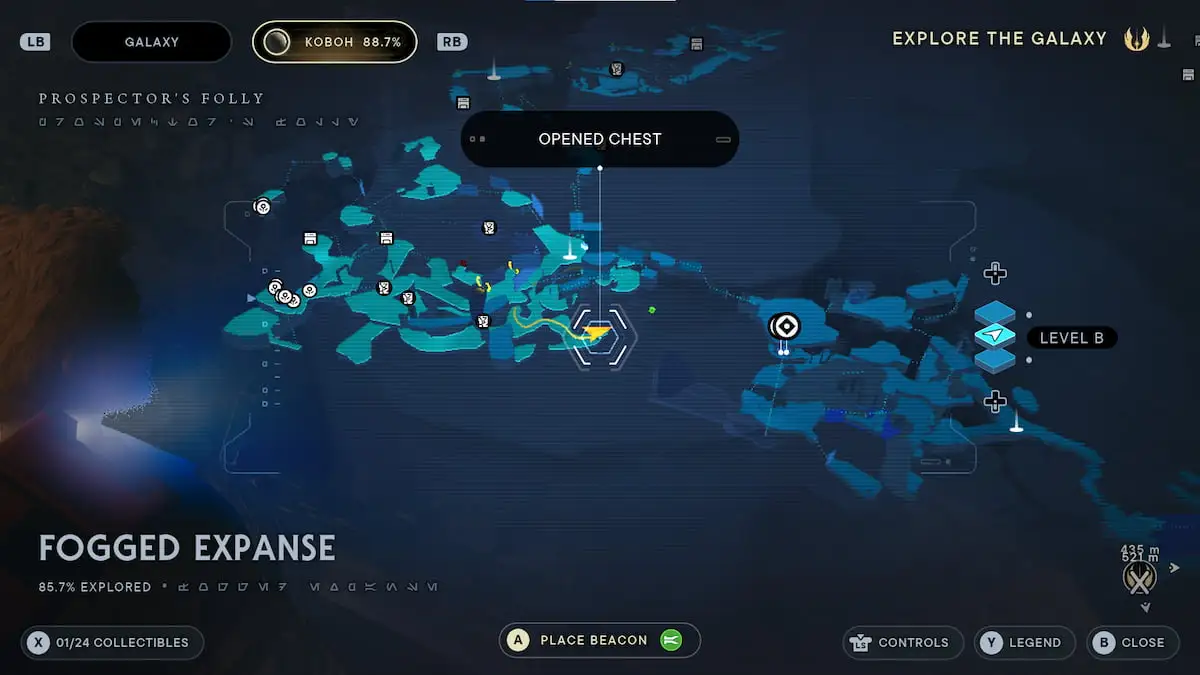
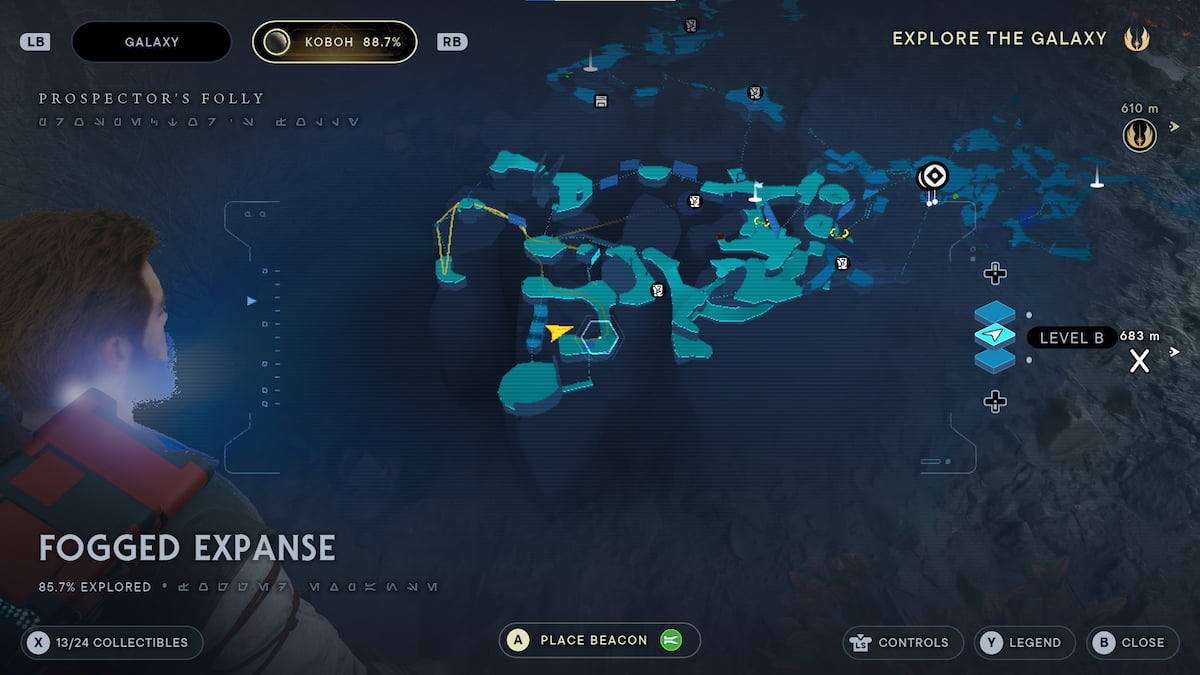
There are 24 Collectibles for you to find in the Fogged Expanse in Jedi: Survivor. This is one of the larger areas, slightly ahead of another nearby region, the Mountain Ascent, but not quite as large as the Derelict Dam or the Southern Reach, which you can also find on Koboh.
You can track five categories of collectibles in the Fogged Expanse in Jedi: Survivor. You will find: Chests, Databank entries, Force Essences, Seed Pods, and Treasures.
All Fogged Expanse Chest Locations in Jedi: Survivor
There are three Chests for you to find in the Fogged Expanse in Jedi: Survivor.
| Chest Location | Chest Collection | Description | Reward |
 |
Chest Location 1 | You can find this Chest to the left of the Meditation Point at the entrance of the Fogged Expanse. Proceed forward and then take a left through a small cave. You should find it at the other end. | Exile Jacket |
 |
Chest Location 2 | The next Chest is deeper in the Fogged Expanse. Take a right from the Meditation Point, and continue to take any rights you can, until you reach a gap where you need to use your grappling hook and jump onto a wall. This will take you to a second level of the Fogged Expanse, and then take a right, where you’ll find a chest guarded by multiple Roller Mines. You will need to use the Force Lift and Force Slam abilities to unlock it. | Cal’s Soul Patch |
 |
Chest Location 3 | The final Chest is one you can reach by returning to the Meditation Point and going backward. There should be a wire you can zipline across to reach a rock formation further away from the Meditation point, then jump forward to find another container. You’ll need to use the Force Lift and Force Slam abilities to unlock it. | Lightsaber Pommel – Detachment |
All Fogged Expanse Databank Locations in Jedi: Survivor
You can find three Databank entries in the Fogged Expanse in Jedi: Survivor.
| Databank Location | Databank Collection | Description |
 |
Databank Location 1 | The first Databank scan you can find is to the right of the main Meditation Point. Take the first right of this location, and proceed through the foggy area. You’ll find this Databank guarded by a Mogu. |
 |
Databank Location 2 | The second Databank entry you can find in the Fogged Expanse is in the form of a Force Echo. You can find it on the second level of this region, behind a large door. You will need to use Force Pull to open it, protected by a Mogu. |
 |
Databank Location 3 | For this Databank entry, return to the Meditation Point, and go behind this location, scaling the wall. This takes you to the second level of the Fogged Expanse, and you will need to cross the gap using the runnable way with the help of BD-1’s Electro Dart. When you get here, run along the back of this way to reach the rock formation, and you can reach this location. |
All Fogged Expanse Force Essence Locations in Jedi: Survivor
There are two Force Essence upgrades for you to find in the Fogged Expanse in Jedi: Survivor.
| Force Essence Location | Force Essence Collection | Description | Reward |
 |
Force Essence Location 1 | The first Force Essence is available after you defeat the Vile Bilemaw. You can find it at the bottom of the Fogged Expanse, and you can reach this location by making your way to the second level of the Fogged Expanse and then sliding down a narrow ramp to face off against it. | Perk: Fortitude |
 |
Force Essence Location 2 | The second Force Essence is on the higher levels of the Fogged Expanse. You’ll need to follow the path to reach the third Databank entry, and from that rock formation, you can shoot BD-1’s Electro Dart at a Blue Fuse. Shoot this, and you’ll open the door to access the Force Essence. | Skill Point |
All Fogged Expanse Seed Pod Locations in Jedi: Survivor
You can find nine Seed Pods in the Fogged Expanse in Jedi: Survivor.
| Seed Pod Location | Seed Pod Collection | Description |
 |
Seed Pod Locations 1, 2, & 3 | There are three Seed Pods that you can find by backtracking from the Meditation Point and jumping across multiple rocks. You will need the upgraded Ascension Cable grapple upgrade to reach this location. |
 |
Seed Pod Locations 4, 5, 6, 7, 8, & 9 | The final Seed Pods in the Fogged Expanse are all lumped together. You can find them on the second level of this region, which you can reach by following the pathway to the right of the Meditation Point, or after you activate the elevator from the Vile Bilemaw boss fight. |
All Fogged Expanse Treasure Locations in Jedi: Survivor
The Fogged Expanse has seven Treasures for you to find in Jedi: Survivor.
| Treasure Location | Treasure Location | Description | Reward |
 |
Treasure Location 1 | You can find this Treasure when you go to the second Force Essence location. It will be to the right of this location, underneath a pile of rocks that require you to use the Force Lift ability. | Priorite Shard |
 |
Treasure Location 2 | The second Treasure is closer to the Mediation Point. You can find it next to the first Chest, to the right of the entrance, rather than going to the left. | Priorite Shard |
 |
Treasure Location 3 | You’ll need to travel deeper on the first level through the fog for this Treasure. It might be a little tricky to keep track of your location, but follow the Holomap, and keep to the left. You’ll know you’re at the correct spot when you see a Roller Mine running at you. The Treasure will be underneath a pile of rocks, which require you to use Force Lift. | Priorite Shard |
 |
Treasure Location 4 | You’ll need to travel to the second level to find this Treasure. There are two ways to reach it. The first is by defeating the Vile Bilemaw in this area and then traveling up the elevator. The second is by crossing a gap using your grapple, and going up to two running walls to reach the second area, and then locating the Treasure behind the rock. Both will get you here. | Priorite Shard |
 |
Treasure Location 5 | This Treasure can be tricky to get. You need to make your way over to this intersection of rocks with multiple grappling points. When you get here, you’ll need to use the Upgraded Ascension Cable to grab onto the Yellow Balloon, and then point yourself in the direction you came from, on the top of the rock. You’ll find the Treasure on the second level. | Priorite Shard |
 |
Treasure Location 6 | This Treasure is not too far from the previous one. You’ll need to use the Yellow Balloon to catapult yourself to the smaller rock formation, and you’ll find it in the nest. | Priorite Shard |
 |
Treasure Location 7 | The final Treasure is close to the end of the area, before you jump over into the Marl Cavern. As you use your grapple to proceed to the final platform to pass into the Marl Cavern, there will be a Scavenger Droid running away from you. It is protected by a Security Droid. | Priorite Shard |
from Gamepur https://ift.tt/naQyVox