There are dozens of collectibles for you to find while playing Star Wars Jedi: Survivor across the various regions and planets you’ll be exploring. These collectibles are difficult to track down and are well hidden across the game. However, you can upgrade your map to make it easier to find them.
There are upgrades you can get for your map in Jedi: Survivor and each correlates to the collectibles you can find while exploring each other, making it easier to track down any remaining ones you need to find to reach 100% completion. This guide covers how to unlock all map upgrades in Star Wars Jedi: Survivor.
Where to Find Every Map Upgrade in Jedi: Survivor

There are five Map Upgrades for you to unlock in Jedi: Survivor. How you go about unlocking them will take a good amount of time, and they will likely occur after you’ve already completed the main story in the game, but it makes it much easier to find the various collectibles you’ll need to track down on Koboh, and the other planets. It also helps to have access to several abilities that unlock as you progress the story.
The five Map Upgrades you can get in Jedi: Survivor has to do with a different type of collection. There are upgrades for Chest Locations, Databank entries, Force Essence Locations, Seed Pod Locations, and Treasure Locations.
How to Get the Chest Map Upgrade in Jedi: Survivor
When tracking down the Chest Location Map Upgrade in Jedi: Survivor, it will appear in the Phon’qi Caverns underneath Foothill Falls. This is one of the more advanced regions in the game, and you’ll want to explore after you’ve unlocked a handful of the traversal abilities, namely Merrin’s Charm to go through Green Shield Doors and the Force Slam and Lift abilities.

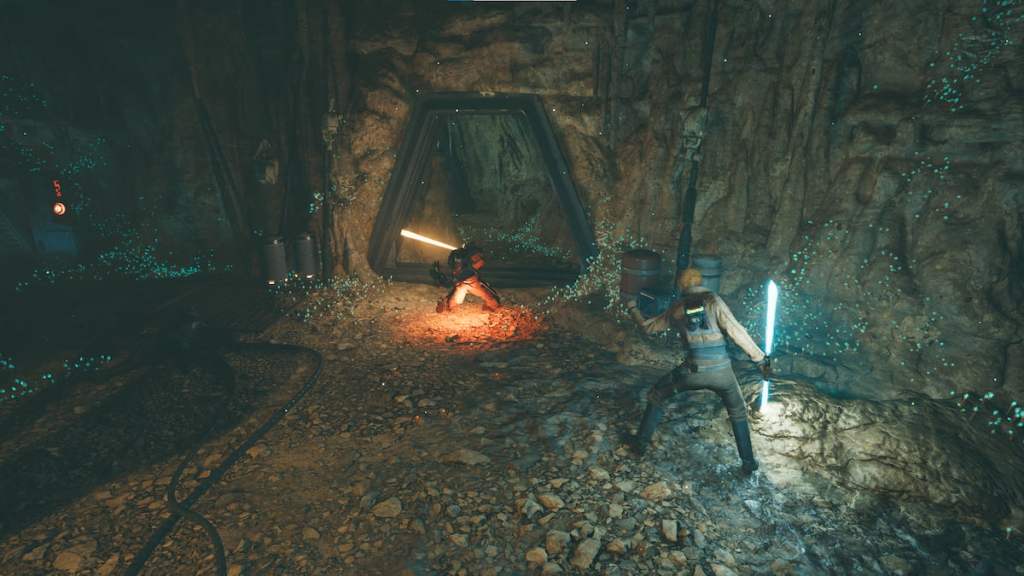
Once you reach the Phon’qi Caverns, make your way down to the bottom of the cave, and you’ll find a location with three Magnaguards standing in front of an electrical door. Take out the Magnaguards, and proceed through the caverns where you’ll end up in a shielded corridor, and locked into a trap. You can go through these electrical doors by using the glowing orange fungus growths in the cavern to melt them.
At the end of the trap, there will be three bosses you need to take down: Sebb Eshan, Urjef Mekor, and “Prince” Patren. There are other locations you can encounter throughout Phon’qi Caverns in Jedi: Survivor, but if you never find any of them, they will appear at this final location, and you need to find the three of them.

After they have been defeated, there will be a door that BD-1 can slice, and you can follow the end of the path to find the terminal. BD-1 can slice this one as well, and you’ll gain the Chest locations Map Upgrade, making it easier to find them throughout the rest of your Jedi: Survivor playthrough.
How to Get The Databank Map Upgrade in Jedi: Survivor
Of the Map Upgrades, the Databank Map Upgrade one might be the easiest to acquire in Jedi: Survivor. It will require you to work your way through the game, and you can only unlock it after you reach close to the final chapters and unlock Nova Garon, one of the final planets.
After reaching Nova Garon, make your way through the Jedi: Survivor story to complete all the chapters that have to do with it and you defeat Lank Denvik, the character behind Bode. After you’ve done this, make your way to the Central Command area, and look for a terminal that BD-1 can slice. You should find it in the final area. We can confirm that if you miss this location, you can return here anytime after you unlock this region.

Outside of reaching this part of the story, there are no requirements to use the terminal. Approach it, and BD-1 can slice it to make it easier to find every Databank location in Jedi: Survivor.
How to Get The Force Essence Map Upgrade in Jedi: Survivor
The Force Essence Map Upgrade has to do with the High Republic Jedi chambers scattered all over Koboh in Jedi: Survivor. These chambers are puzzles and challenges meant to test your skills as a Jedi, and these locations are hidden throughout the map.
After completing all seven chambers and acquiring the Force Essence at the end of these encounters, go back to Rambler’s Reach Outpost and then go to the Alignment Control Center.

This location is one of the final locations you’ll visit in the Jedi: Survivor story, and at the entrance, there is a room full of computer screens. If you don’t complete the High Republic chambers, these screens will be red, but when you do, they will be green. When they are all green, BD-1 can slice a nearby terminal, and you can now track down every Force Essence location you still need to find in the game.
How to Get The Seed Pod Map Upgrade in Jedi: Survivor
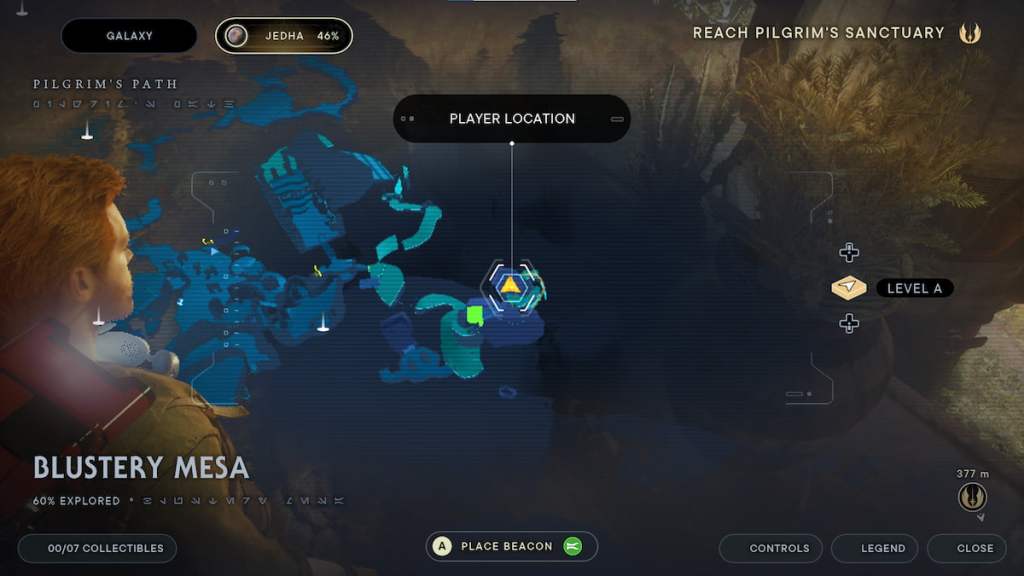
The Seed Pod Map Upgrade is another partially difficult one to track down in Jedi: Survivor. For this, make sure you’ve unlocked the Gardener, which means you need to locate Pili. You can find her on Jedha, at the start of Chapter 4, when Cal and Merrin are making their way to Pilgrim’s Sanctuary. You can find Pili at the top of the Blustery Mesa.

After you have Pili, return to Pyloon’s Saloon on Koboh and speak with her in the garden. She can help you expand your garden, and you will need to unlock the 10 Garden Plots to gain access to the Seed Pod Map Upgrade terminal. The only way to expand the 10 plots is to find at least one type of every seed in Jedi: Survivor, plant them in your garden and have them fully grow.
After you plant at least one type of every seed, the terminal will appear at the top of Pyloon’s Saloon, and BD-1 can slice it. The final garden plot will also be available for you to plant any other Seed Pods you want to add to your garden while playing Jedi: Survivor.
How to Get The Treasure Map Upgrade in Jedi: Survivor
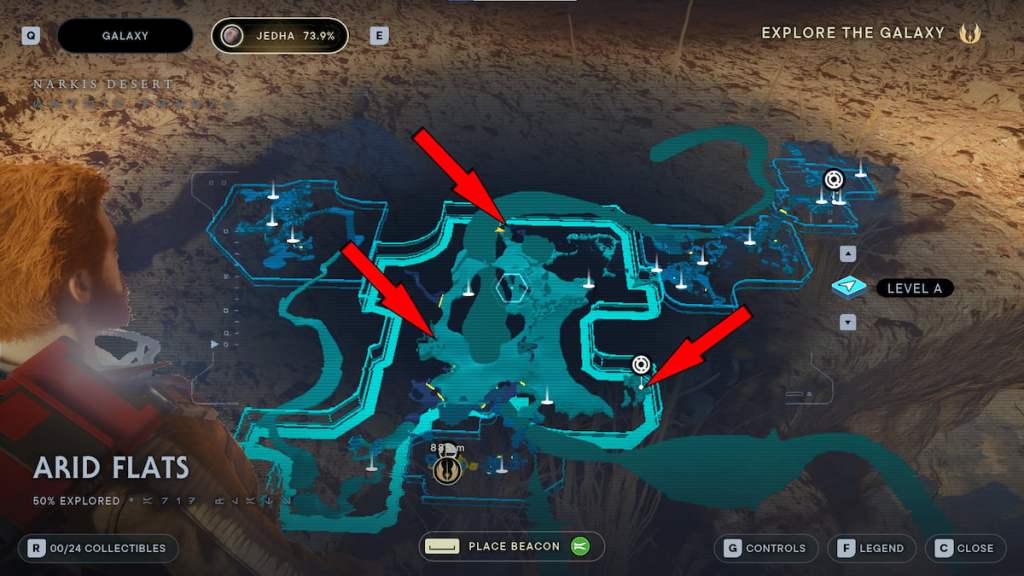
You’ll need to make your way to Jedha when you’re ready to unlock the Treasure Map Upgrade in Jedi: Survivor. There are three puzzles that you need to solve on this planet. You need to solve the Ruins in the Western Desert, the Ruins in the Southern Desert, and the Ruins in the Northern Desert.

These are given to you by Eno Cordova, and you can still complete them after you’ve completed the main Jedi: Survivor story. These puzzles follow the same pattern as the others on Jedha where you can use Force Pull and Force Push on the orbs in the rocks to complete the cycles.
After completing those three puzzles, a location at the center of the desert will reveal itself to you, and you can access the Wayfinder’s Tomb. This will contain another terminal BD-1 can slice, updating your map with every Treasure location in Jedi: Survivor.
from Gamepur https://ift.tt/es4XEPB